

Choose a Visual Starting Point
Select the image, human video or animal video mode that fits your source. A clear, visible mouth and steady framing make the result easier to assess.
- Use the matching input mode
- Keep the mouth visible
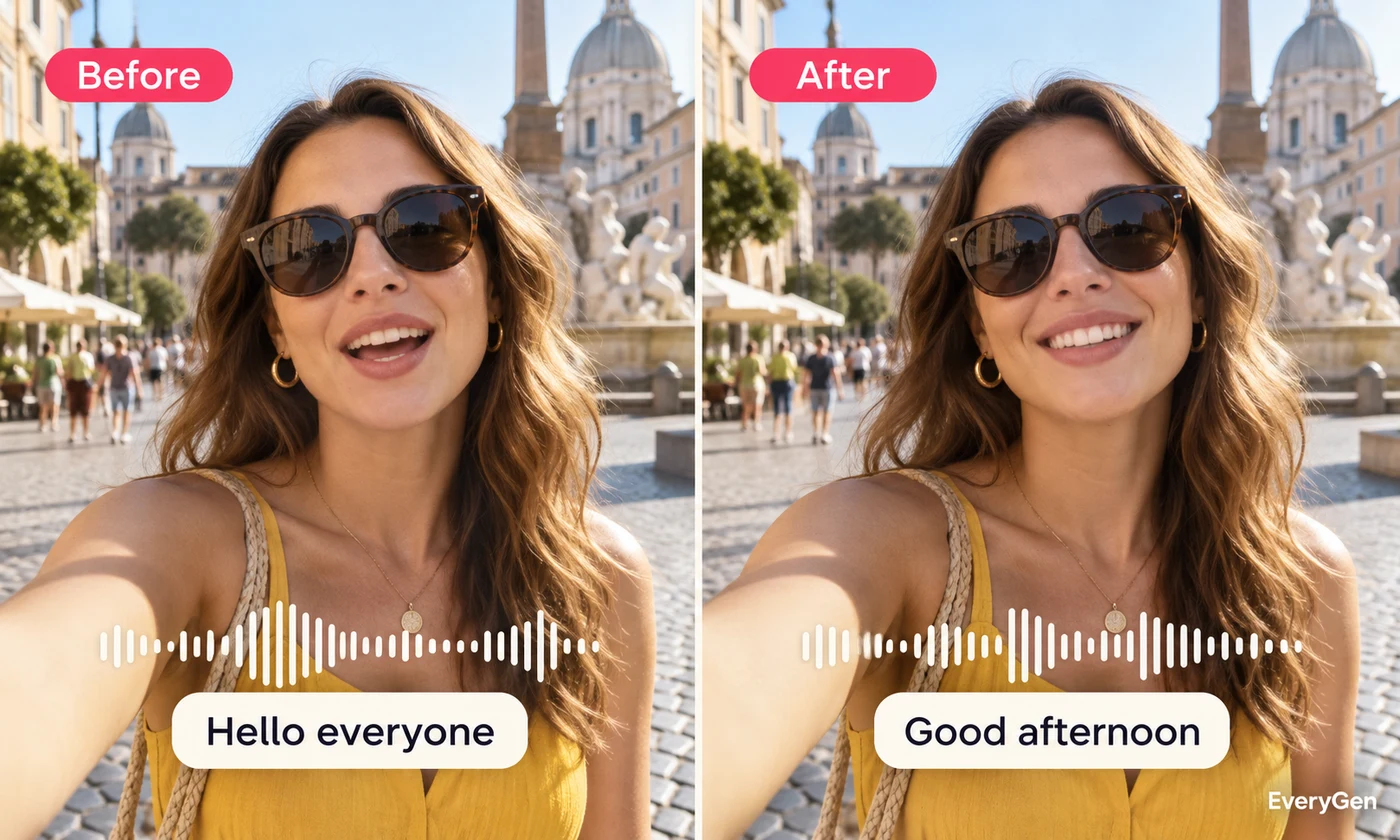
Match visible speech to a new audio track with AI lip sync. Start from a supported photo or video, then upload speech or create it from text in the editor.

See what the tool changes and how to get a useful result.
Select the image, human video or animal video mode that fits your source. A clear, visible mouth and steady framing make the result easier to assess.

Upload an existing audio performance or enter text to generate speech. When using text, choose the available voice and language before rendering the clip.
Watch the generated result with sound and inspect pauses. Fast movement, profile views and obscured mouths can make synchronization less convincing.
Work through these three steps in the editor above.
Select an input mode and upload the visual source.
Upload audio or create speech from text.
Render the clip and review the lip sync.
Choose a starting point that matches the work you want to finish.
Pair a prepared introduction with a different spoken track.
Explore speaking scenes using a suitable character image or clip.
Make a visual presenter deliver a short educational script.
Practical answers about inputs, results and limitations.
Yes. Select image mode and supply the image plus speech audio or text.
No. The text-to-speech option can generate speech before the lip-sync step.
An animal-video mode is available; inspect the result because mouth anatomy and movement vary.
No. Prepare translated speech separately or use the video translation workflow first.
Use a well-lit subject with a visible mouth, limited head turns and clean speech.
Bring your own source and review the result in the editor above.