

Adjust Overall Brightness
Raise or lower brightness when the image feels too dim or too light. Make small changes first to avoid washing out highlights or flattening shadows.
- Lift dark-looking footage
- Protect visible highlights
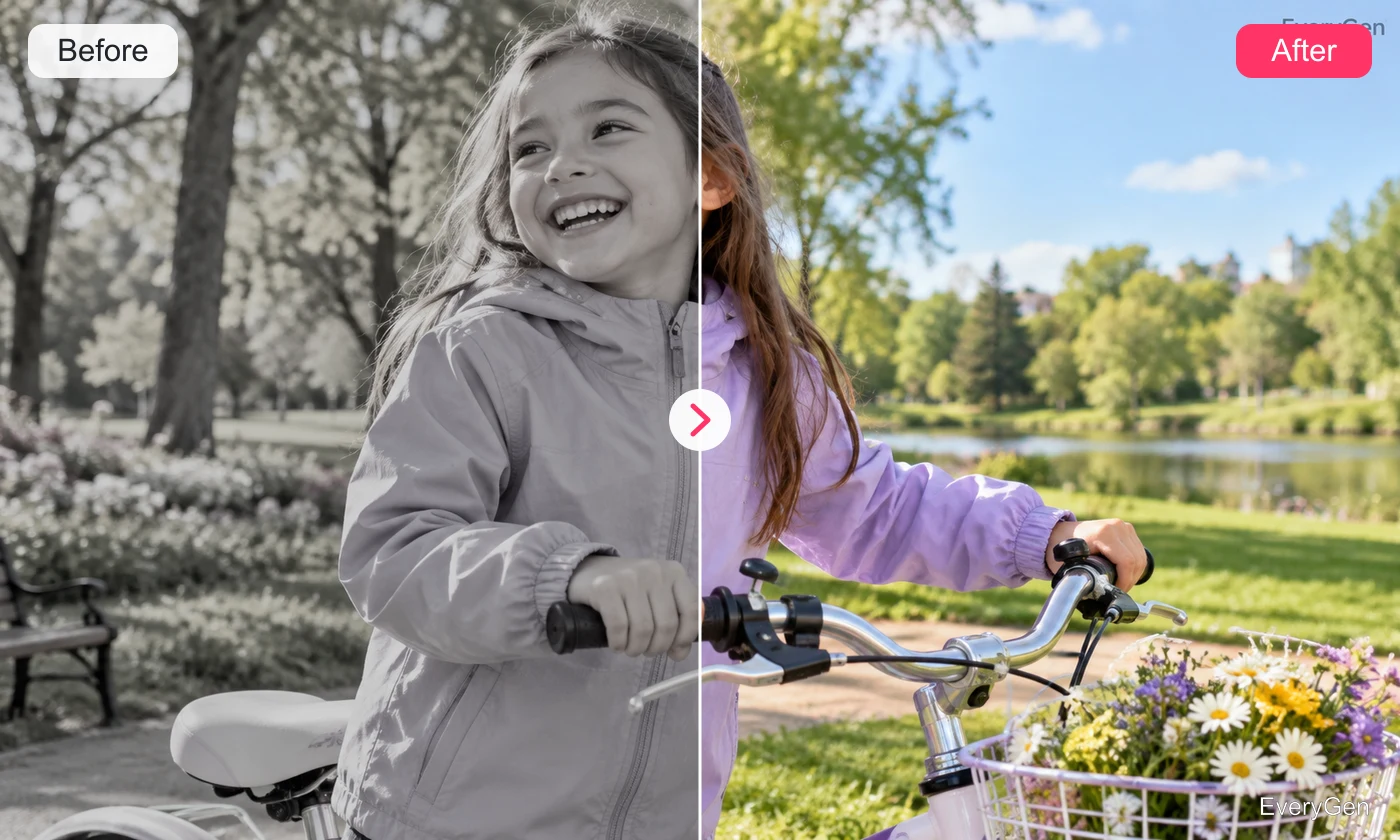
Give footage a more balanced look with video color correction. Adjust brightness, contrast and saturation directly, then review the whole clip under the new settings.

See what the tool changes and how to get a useful result.
Raise or lower brightness when the image feels too dim or too light. Make small changes first to avoid washing out highlights or flattening shadows.

Use contrast to separate light and dark areas more clearly. Check shadow detail and bright surfaces as you make the image more pronounced.
Reduce saturation for a quieter palette or increase it for a stronger color impression. Review natural materials and skin tones to avoid an exaggerated result.
Work through these three steps in the editor above.
Upload the video you want to adjust.
Set brightness, contrast and saturation.
Process and compare the full clip with the source.
Choose a starting point that matches the work you want to finish.
Bring differently lit clips closer together in an edit.
Keep colors readable without overwhelming the subject.
Give a dim-looking clip a more usable presentation.
Practical answers about inputs, results and limitations.
No. The available controls adjust brightness, contrast and saturation across the clip.
This editor does not offer LUT upload or a dedicated color-grading timeline.
No. Brightness adjustments cannot reliably restore detail already lost during recording.
The selected adjustments apply to the processed clip; review scene changes yourself.
Use the video upscaler or enhancer when you need a larger output.
Bring your own source and review the result in the editor above.